Comment implémenter Tanganica Pixel via GTM ?

Vous avez probablement remarqué que nous avons ajouté une nouvelle fonctionnalité à l'interface utilisateur sous la forme du pixel Tanganica. Il s'agit d'une option de mesure améliorée pour Facebook et Google, et à l'avenir pour tous les autres formats. Assez souvent, vous souhaiterez implémenter le pixel Tanganica à l'aide de votre GTM. Nous avons remarqué que dans de nombreux cas, vous ne savez pas comment procéder. C'est pourquoi nous avons créé un simple fichier tutorial.Log dans Google Tag Manager à l'aide de votre compte Google. Sélectionnez le compte correspondant à votre GTM, puis cliquez sur l'onglet Tags dans le menu de gauche et sélectionnez Nouveau en haut à droite.

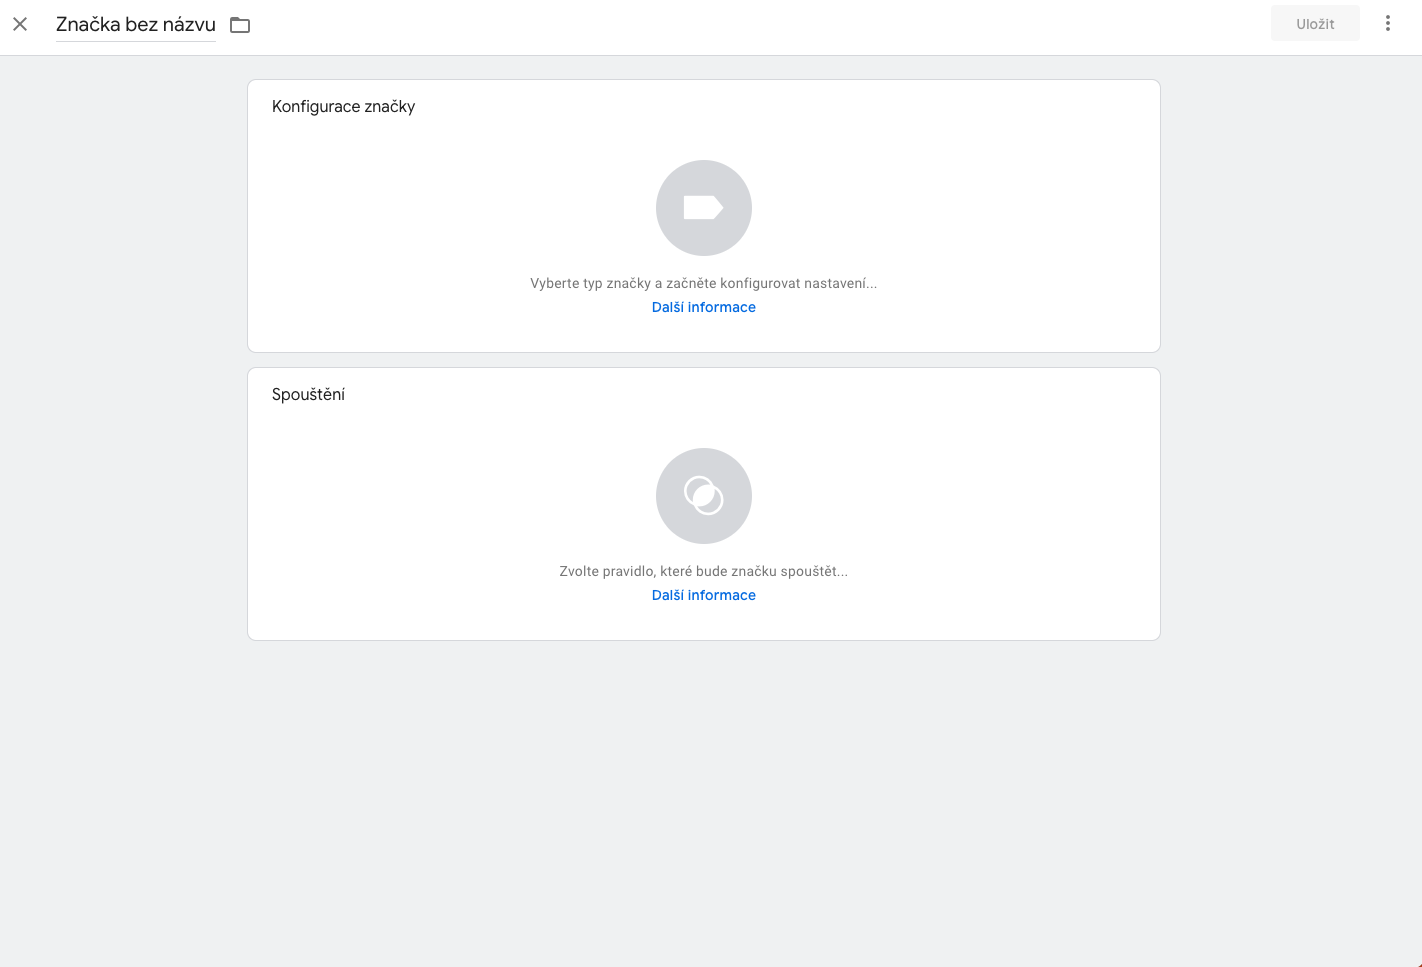
Nommez le nouveau marqueur (il suffit de remplacer le marqueur sans titre en haut à gauche par le nom de votre choix), nous vous recommandons par exemple Tanganica Pixel pour une meilleure orientation. Cliquez dans la première zone, Configuration des balises, puis sélectionnez HTML personnalisé. Dans la zone HTML, collez le code Tanganica Pixel et dans la zone de lancement, sélectionnez Toutes les pages et cliquez sur Enregistrer en haut à droite.

Une fois que vous avez terminé, n'oubliez pas de soumettre vos modifications en appuyant sur le bouton Soumettre en haut à droite, et c'est terminé ! 🙂


.svg.png)


